Friday, December 23, 2011

Day 12: Christmas Cookies

One of my favorite Christmas traditions is our annual girls' cookie decorating extravaganza with the cousins.

We roll out the dough (store bought), color the icing (made from scratch) and go to town with our piping bags.

Photobucket

This year we had a new little one that was able to get in on the action.

Photobucket

Photobucket

Photobucket

Photobucket

Photobucket

Photobucket

Photobucket

The next few days will hopefully be spent relaxing, eating more delicious food and hanging out with family.

Thanks for following along the past two weeks (12 consecutive days of posting turned out to be a lot more than I thought!). I'm taking a little break but will be back after Christmas to get the new year started off right.

So I hope you have the happiest of holidays and an amazing new year! See you soon!

Thursday, December 22, 2011

Day 11: Christmas Lights Bokeh

I knew I wanted to capture some fun bokeh shots with the Christmas tree this year. (Bokeh = the blurry, out-of-focus area of an image)

You don't have to have Christmas lights to have bokeh, but Christmas lights make really nice bokeh.

I used this tutorial as a guide and coaxed Sugar to be my subject.

Photobucket

Photobucket

Photobucket

Photobucket

I still think my favorite bokeh shot yet though is this one from yesterday's Oreo post:

Photobucket

What shots are you dying to capture this year? Be sure to share once you get them!

Wednesday, December 21, 2011

Day 10: Chocolate Dipped Oreos

Need a last minute holiday treat idea? Or something that packages up nicely as a gift? It doesn't get any easier than chocolate covered Oreos.

You'll need:

White chocolate morsels
Oreos (I don't need to tell you that I use Double Stuf, that should be a given)
Crisco
Sprinkles (optional)

Melt your white chocolate in a double boiler.

Photobucket

I don't have a double boiler so I took a cue from Kim and used a glass bowl with my regular saucepan. You can also melt the chips in the microwave, but I think it's easier to scorch them that way, and once that happens your chocolate is ruined.

I mentioned in an earlier post that I'm not a huge fan of white chocolate. That's true for the most part, except when it comes to these Oreos.

Also, I found (from reading the back of the morsels bag) that if you add a tablespoon of vegetable shortening (I love the Crisco sticks) to your chocolate, it helps make it a bit thinner and therefore better for dipping.

Once your chocolate is just melted (be sure not to cook it too long!) remove the bowl from the water/heat and throw in your Oreos.

Photobucket

Get them nice and covered, and then fish them out with a fork and shake off the excess.

Photobucket

I transferred them to my Silpat, but you could also use wax paper.

Photobucket

Hit them with a shot of sprinkles and voila!

Photobucket

If you have leftover chocolate, you can cover all sorts of other stuff: pretzels, graham crackers, my mom used to even make little Ritz cracker and peanut butter sandwiches and cover those. Yum!

Tuesday, December 20, 2011

Day 9: Wrap It Up

I stuck with my silver/white/blue color scheme for wrapping this year, but relied on craft paper a lot more than last year. I'm kind of obsessed. I used to think it was boring, but now I think it just emphasizes the ribbon/bow/embellishments more.

Photobucket

Photobucket

Photobucket

Photobucket

Photobucket

This silver glitter ribbon? I die. Seriously, it completes me. And unlike every other glitter item in my arsenal it does NOT make a mess. If you need to be completed too, you can get you some here.

Photobucket

If you're on Pinterest, you've seen this tutorial for tying the perfect bow. I've been tying bows a long time, but I like the added touch of folding the tails back in and gluing them to the package (I used double-sided tape). I didn't use this trick with my wired ribbon, but it worked perfectly with the satin ribbon.

So what about you? Do you stick with a scheme when it comes to wrapping? Are you a fan of craft paper, or not so much?

Monday, December 19, 2011

Day 8: Mailbox Treasures

Checking the mailbox in December to find it full of Christmas cards is one of my very favorite things.

Photobucket

Photobucket

And looking at my collection of cards and seeing three with pictures that I took is even better.

Photobucket

Photobucket

Photobucket

Photobucket

If you sent me a non-photo card this year, don't worry, they have a special place of their own in a basket on the counter. I just ran out of room in my card holder really quickly.

We've done a photo card the last two years, but opted out this year. But seeing all the awesome cards this year makes me sad we didn't do one. I'm sure we'll be back on the bandwagon next year!

Did you do a card this year? Have you been getting lots of great ones in the mail like me?

Sunday, December 18, 2011

Day 7: Pottery Barn Inspired Hallway Decor

Earlier this year we bought a console table for our hallway. I used it at a baby shower this spring to display favors and had fun sprucing it up for fall.

Once I took my fall picture frame wreath down, of course I knew I wanted to do something for Christmas as well. So I turned to one of the 18 Pottery Barn catalogs that showed up in my mailbox this month for inspiration.

Photobucket

I was able to talk Lee into replicating this setup by convincing him that this area would make a perfect bar area for our Christmas dinner party with friends. And he doesn't say no where bourbon is involved.

I bought a long mirror to go over the table (just 30 bucks at HomeGoods) that will stay up all year long (the wall was looking a bit blank before and in desperate need of a mirror or some artwork).

Then I got to work creating my "cheers" letters, which I cut out of the top of a white gift box (I didn't have any poster board on hand) and glittered both the front and the back, since the backs are reflected in the mirror. 

Photobucket

Photobucket

Photobucket

I've been watching too much Martha Stewart Show lately, so I was sadly excited about finally having an excuse to glitter something. However after randomly finding glitter all over my clothes, skin and house for four days now, it's safe to say the excitement has worn off (but not the sparkle).

I finished the project off with fresh pine and cedar garland from Home Depot and some red satin ribbon.

Photobucket

Photobucket

Photobucket

Photobucket

Lee's contribution? His crystal decanter and glasses set.

Photobucket

Can't wait to be pouring some hot toddies here next week!

Saturday, December 17, 2011

Day 6: Holiday Eats

Last weekend we whipped up three holiday recipes to munch on.

First was sausage balls. It's just not Christmas without sausage balls.

Photobucket

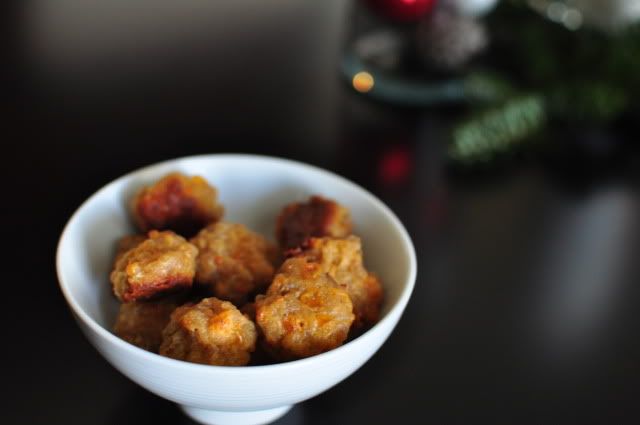
We don't have a specific recipe, we just kind of eyeball the three ingredients: sausage (we mix 1lb. mild with 1lb. hot), shredded cheddar cheese and Bisquick.

Lee rolled the dough into logs and froze a few of them, so we'll have dough on hand throughout the holidays that we can quickly thaw out, roll into balls and bake.

Then I made a batch of pimiento cheese that we've been munching on all week. Pimiento cheese isn't solely a Christmas food, but it's nice to have some on hand during the holidays.
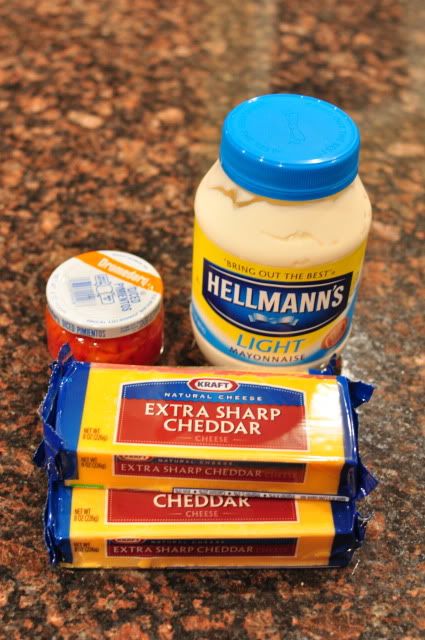
Photobucket

Ingredients:

2 lbs. extra sharp cheddar cheese
1 jar diced pimientos
Mayo (I just eyeballed it)

Photobucket

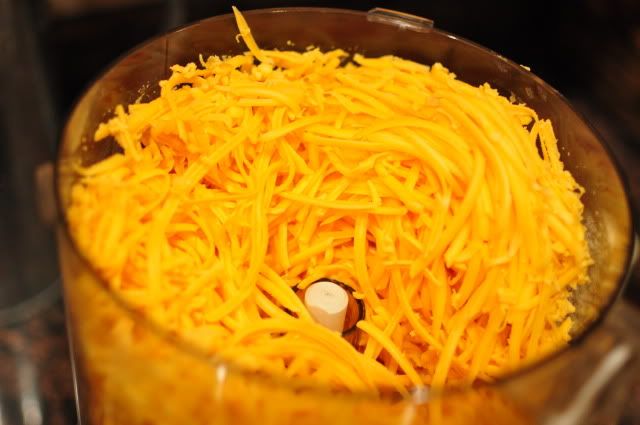
You MUST grate the cheese yourself. Pre-packaged shredded cheese is just not going to cut it.

I used the shredder plate on my food processor to grate the cheese and then used the regular blade to combine all the ingredients.

Photobucket

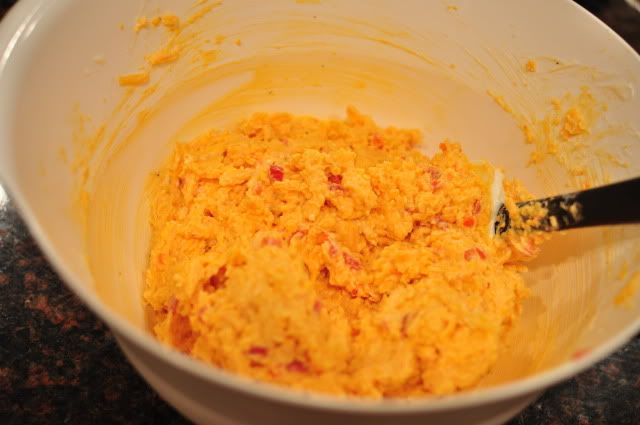
This pimiento cheese is super sharp, which is just the way I like it. If you don't like it as sharp, you can use sharp cheese or mix sharp and extra sharp.

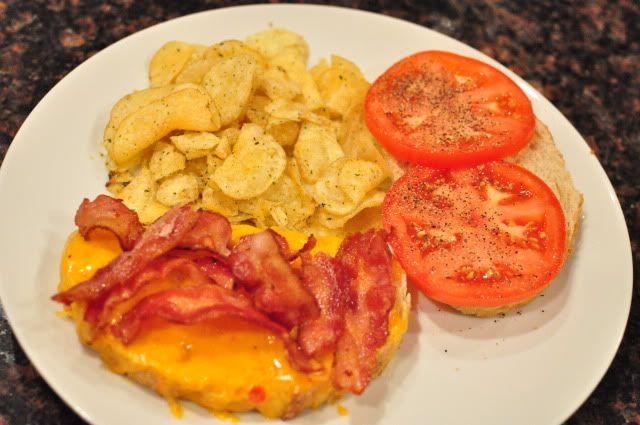
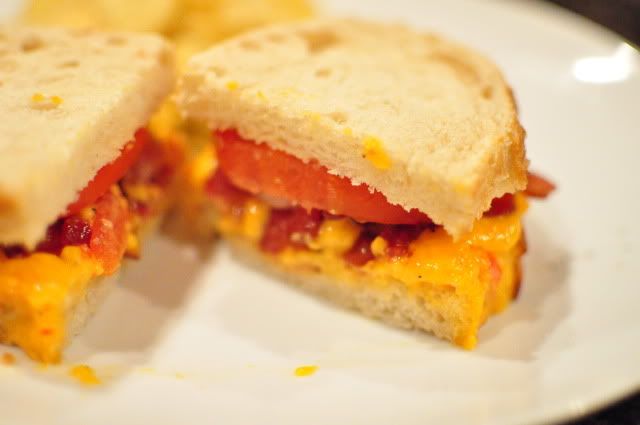
Please PLEASE buy yourself some crusty sourdough bread, slather it with the pimiento cheese and pop it in your toaster oven so it gets nice and runny. YUM. Extra points if you also add bacon and tomato.

Photobucket

Photobucket

And of course we had to have a sweet treat. My mom makes these bars at Christmas, and I'm not sure they have a name (they probably do but I just don't know it), so Lee took to calling them sniggedy snacks.
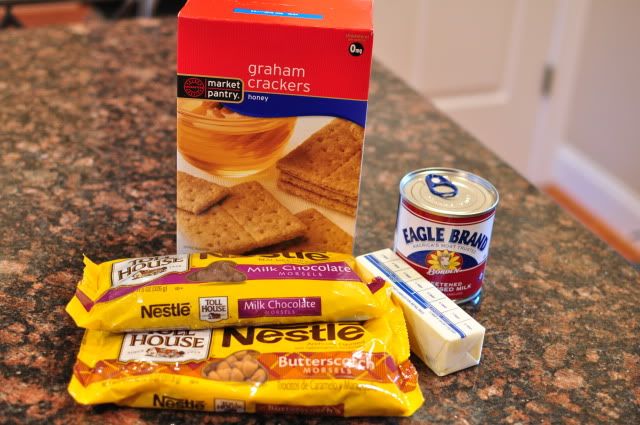
Photobucket

You'll need:

1 c graham cracker crumbs
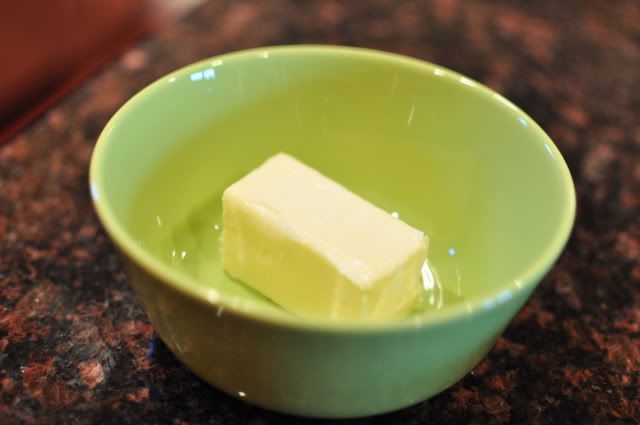
1 stick of butter
1 pkg butterscotch morsels
1 pkg chocolate chips (I've taken to using milk chocolate morsels instead of semi-sweet lately, but you do what you want)
1 can sweetened condensed milk

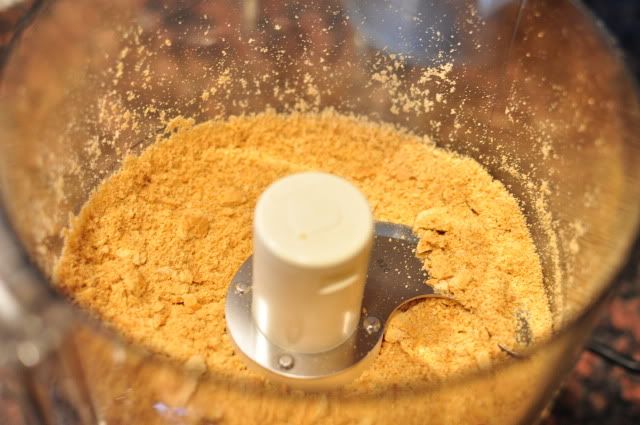
You can buy graham cracker crumbs already made, or make them yourself. I used one sleeve of crackers (1/3 of the box).
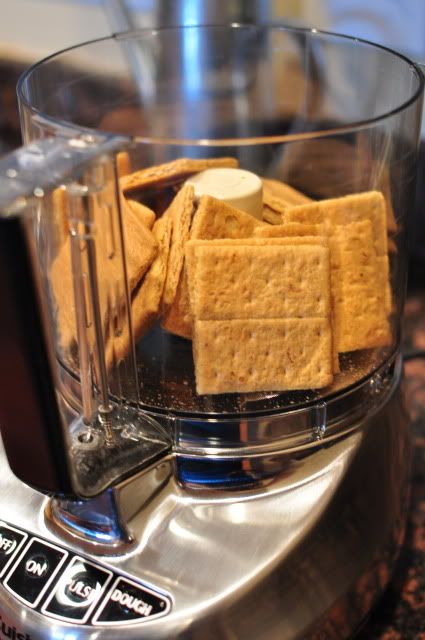
Photobucket

Get to pulsin'.

Photobucket

The butter gets popped into the microwave.

Photobucket

Until it's melted.

Photobucket

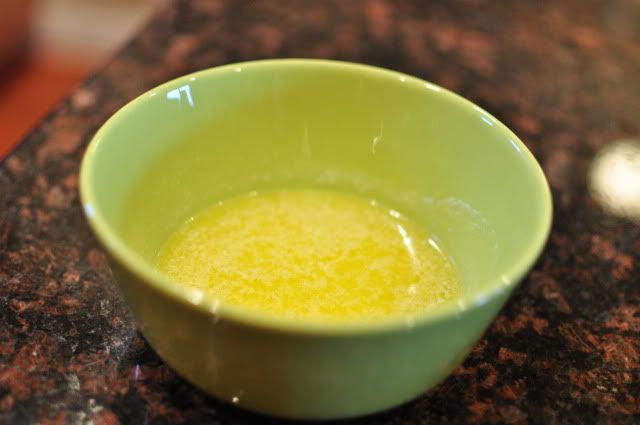
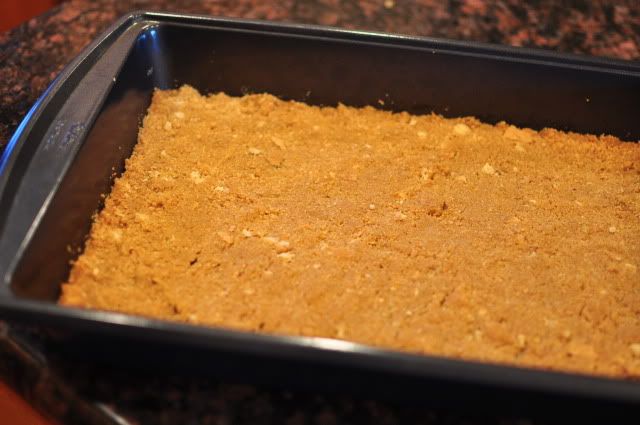
Pour the melted butter over your crumbs and spread into your pan to make a crust.

Photobucket

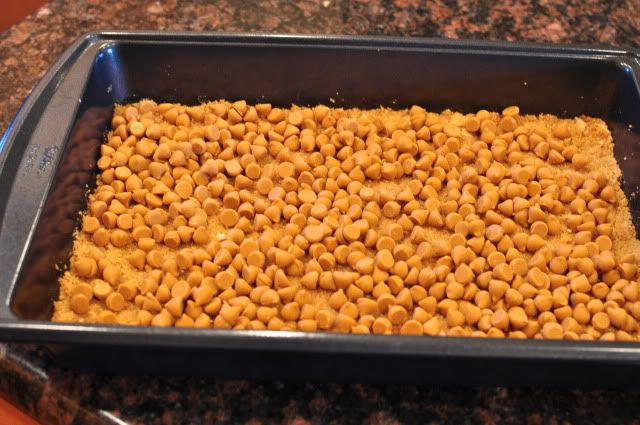
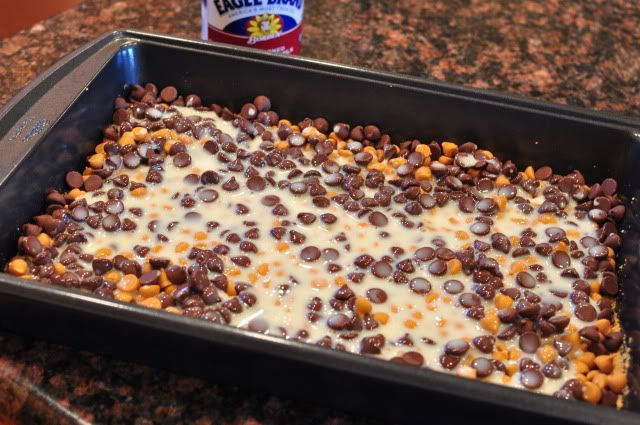
These next steps are pretty complicated, so pay attention. Top the crust with the package of butterscotch morsels.

Photobucket

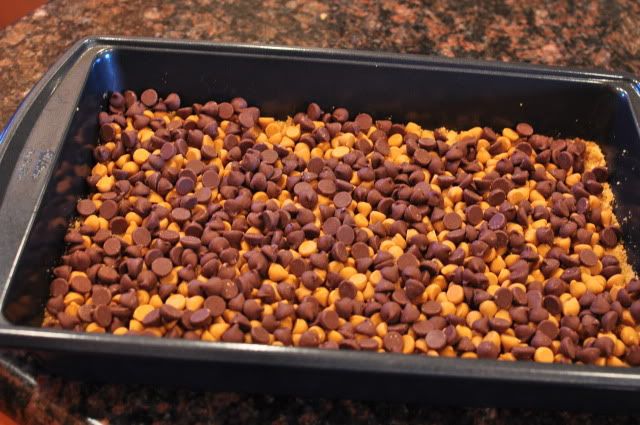
And then CAREFULLY add the chocolate chips. (Just kidding about the carefully part. Just throw them on there.)

Photobucket

And now an action shot!

Photobucket

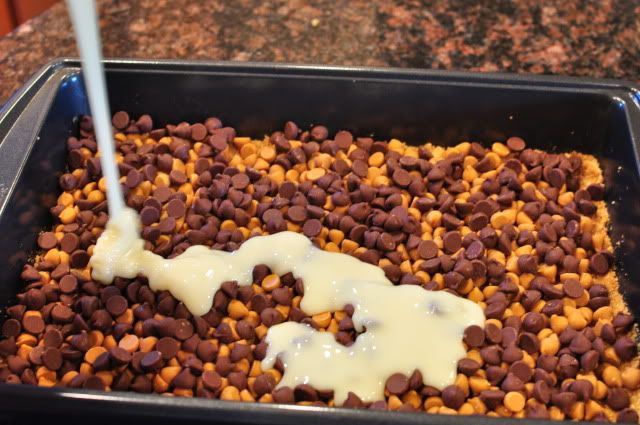
Pour on the can of sweetened condensed milk. Whatever you do, don't sneak a taste of the condensed milk. (Kidding again. You should definitely do that.)

Photobucket

Now pop it in the oven at 350 for about 25 minutes.

Photobucket

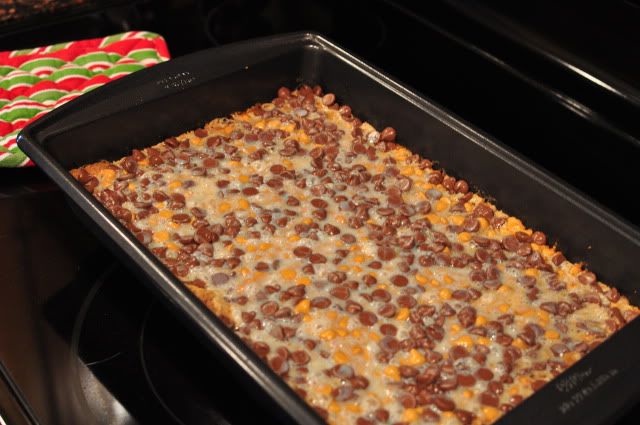
I'm not quite sure what was going on with this batch of sniggedy snacks, but they didn't cut up into nice bars like they usually do. They were a bit gooey and runny (let me tell you, NOT a bad thing), so we just enjoyed them straight out of the pan.

These are pretty sweet, so if you don't have a sweet tooth (and for that I envy you) then these probably aren't for you. I think the original recipe also calls for a package of white chocolate chips, but I'm not a huge fan of white chocolate (and it already has enough going on) so I leave them out.

So what are you baking up this holiday season? If you try any of these out, let me know what you think!
Related Posts Plugin for WordPress, Blogger...