
Hi guys! Did you think I disappeared? Did you think I only write about my baby now? Well, both are true but I'm back (for the moment at least) and I'm going to tell you about something that has nothing to do with Ava!
However, this post is two years overdue so it's still pretty shameful. Think back with me, back before Ava, back before I even told you I was pregnant. Back to this post, where we bought king sized bedding on clearance for a king size bed we didn't have. Well, you didn't know I was pregnant at the time but we did. And as we knew my belly would be rapidly expanding, we wanted to go ahead pull the trigger on a bigger bed. Plus, a headboard DIY was just the thing to get my mind off all of the baby stuff I wanted to be thinking about but couldn't because it was still too early.
As I mentioned in the post, I loved the Raleigh Upholstered Headboard from Pottery Barn with its lovely linen fabric and nailhead trim. But I did not love the price, so we went the DIY route. And now I'm finally going to share it with you here, but keep in mind that this was over two years ago so I'm going to wing it a bit.
First step - we bought an old door.
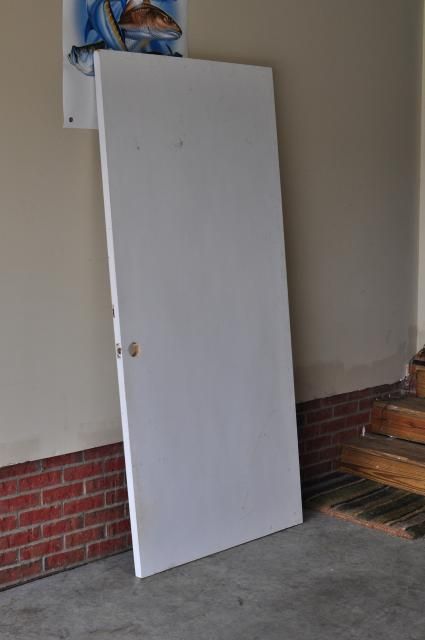
I suppose you could use plywood, but the door was cheap (we bought it at the Habitat Restore for I think maybe $6?) and was the perfect size and thickness. I think Lee filled in the doorknob and key holes with wood filler, but I'm not sure this was totally necessary.
Next we hit up Mill Outlet Village in Raleigh to purchase our fabric, foam, batting and nailheads (which had to be special ordered, because I wanted BIG nailheads to match the PB bed).
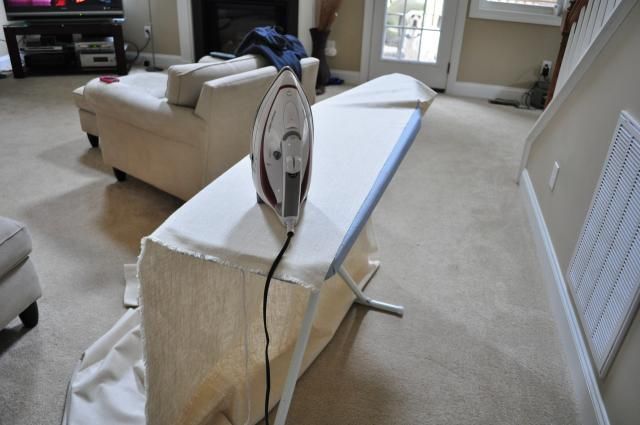
I ironed the linen fabric to make sure it was wrinkle free, while Sugar looked on from outside (I think she's been in this exact same spot for two years).
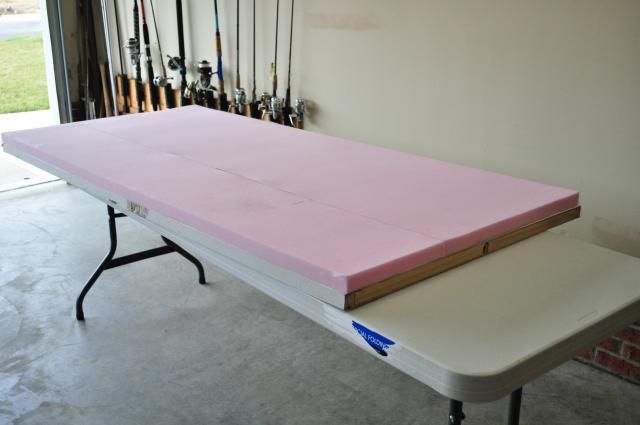
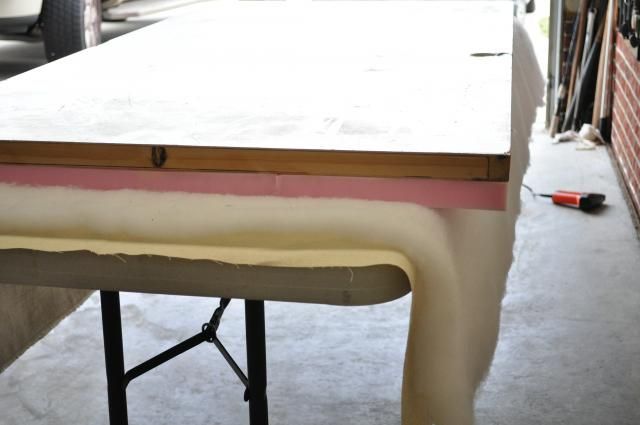
We adhered the foam (maybe 2" thick?) to our door using craft bond. (Again, I'm not sure how necessary this step was, as it might have stayed together just fine without the glue.)
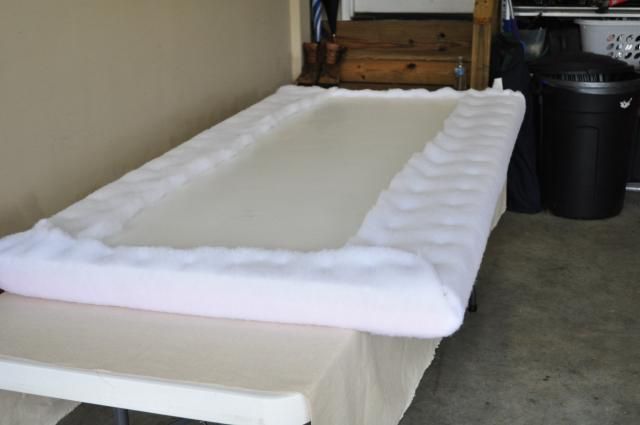
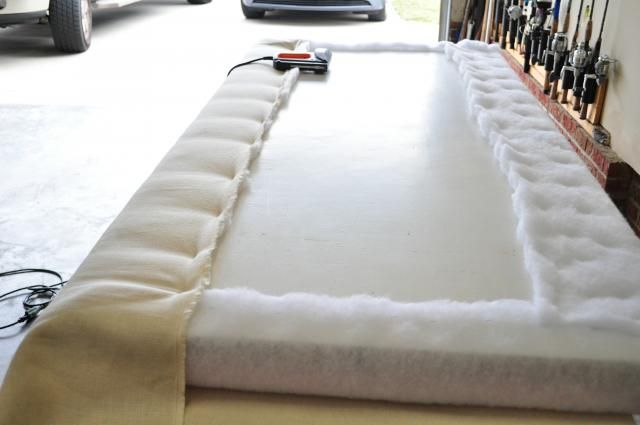
We layered our fabric, batting and then the door on top (foam side down).
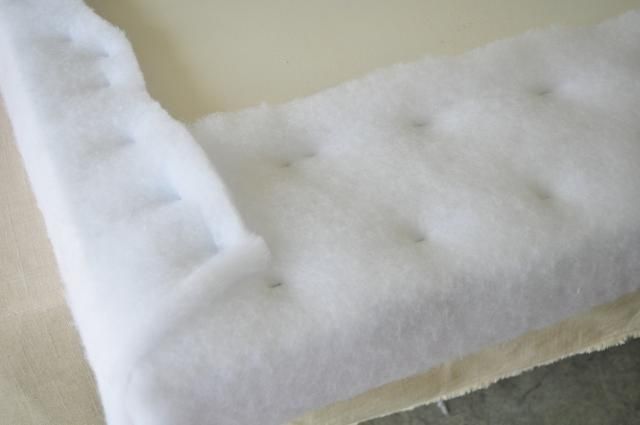
And stapled the batting down.
I winged it on the corners.
And here's an action shot of me using the staple gun.
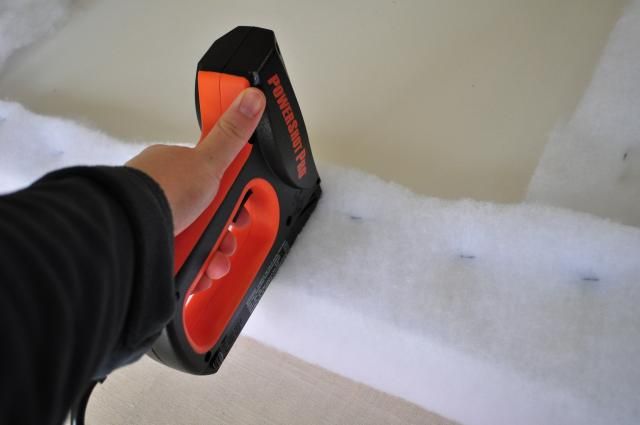
Next the fabric was stapled down, making sure it was pulled tight all the way around.
Then we brought the headboard inside and Lee attached legs he made out of 1x6's (?) stained dark to match our existing furniture. (You can't really see these boards though, except from the side view.)

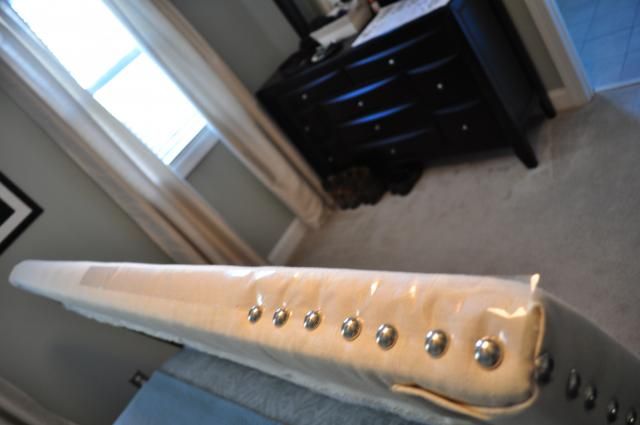
Then I started the daunting task of nailing in the nailheads using a rubber mallet.
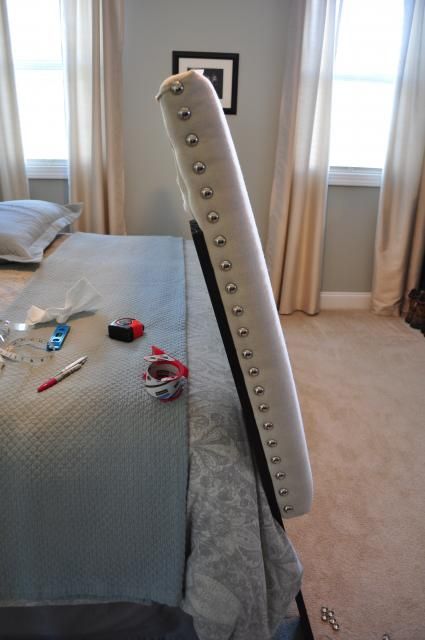
This part was not fun. Some of the nailheads would bend before I could get them in and I'd have to ply them out and start over. It was hard keeping them evenly spaced and in a straight line. I finally got smart and figured out that a piece of packing tape worked well to give me a straight edge to work against and provide a template where I could mark dots for even spacing.
Lee somehow attached the headboard legs to our new king bed frame (I don't know the details) and we got the mattress and linens in place.
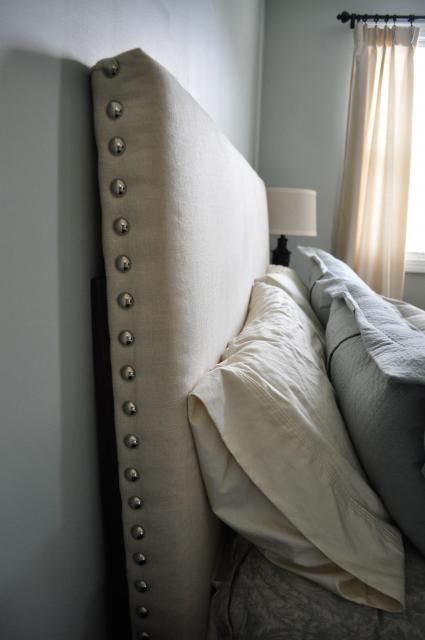
Voila.
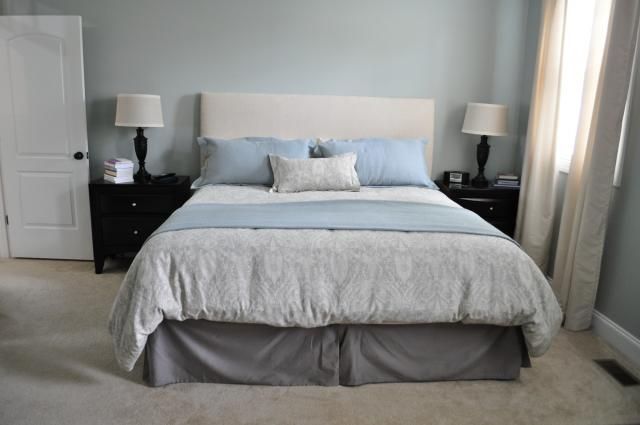
This picture makes me realize, even two years later, that we need some type of artwork above our bed. And the headboard doesn't look level but it really is. That's more my poor photography skills than any issue with the bed.
I don't love that you can't really see the nailhead trim detail from a straight-on view of the bed, but we're still happy with the final product. And two years later, it's holding up beautifully. I was worried the fabric might start to wrinkle or the foam and batting to flatten, but it looks just like the day we installed it.
And that concludes our 2 year old DIY catch up. Next up, I owe you Ava's 18 month recap, as well as what we finally did with that gaping hole over our fireplace. Cliffhanger!


