Showing posts with label DIY. Show all posts

Monday, October 24, 2011

Fall Decorating

I had way too much fun this weekend getting our house spruced up for fall.

For me, it's always a little hard to know when exactly to decorate for fall. The end of September seems fall-ish but if you buy pumpkins then, they'll barely make it to Halloween, let alone Thanksgiving. Case in point -- my mom bought me a mum for my birthday and by the beginning of October it was dead as a doornail. (Ok, that might have more to do with my lack of gardening skills than the plant being purchased too early, but whatever.)

I had scoped out the pumpkin options at WalMart but decided to wait until after our Mexico trip to make my purchases. But instead of WalMart, we found a cute little pop-up pumpkin patch in the parking lot of our local Harris Teeter. It wasn't exactly a trip to the country, but I still felt better about buying locally and supporting this family-run business (the teenager manning the stand was super friendly and helpful). And even though I expected the prices to be a bit higher than WalMart, they were actually matched pretty much dollar-for-dollar.

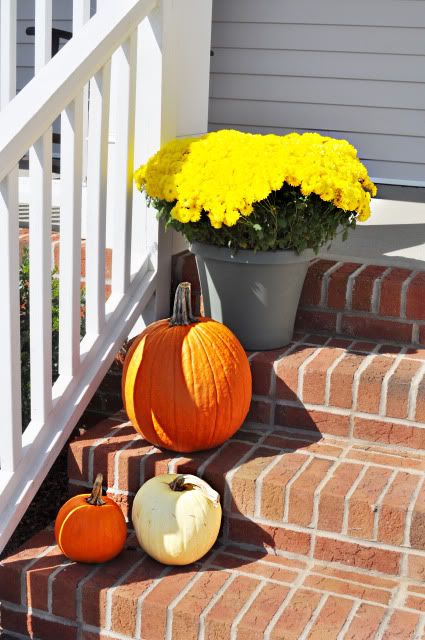
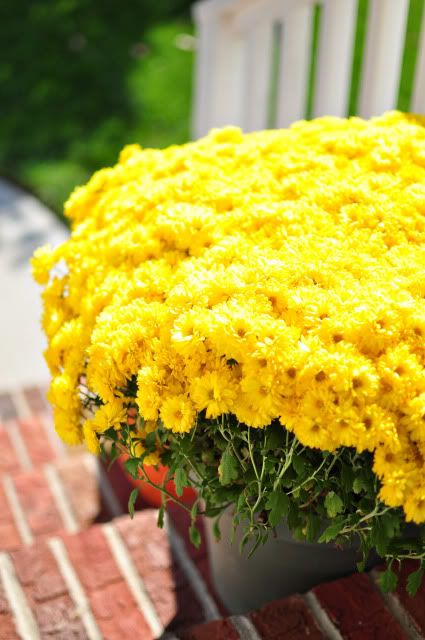
Plus, I got the deal of the century on a new mum. I wasn't planning on buying another mum, seeing as I'd already killed one. But as we were leaving the guy said "oh and all of our mums are on sale for $5." I said "all of them?" He said yep. "Even this huge one on display out front (that's twice as big as all of the other ones and is actually probably worth more like $20)?" I had him then. He said yeah sure, why not. I told Lee to pay the man before he changed his mind and he said "yeah you really are getting a good deal on that mum."

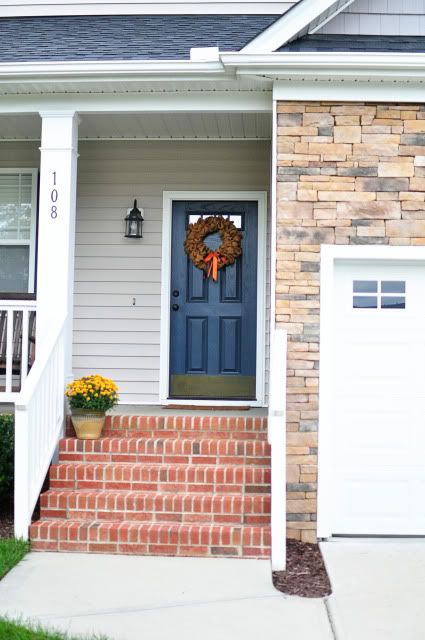
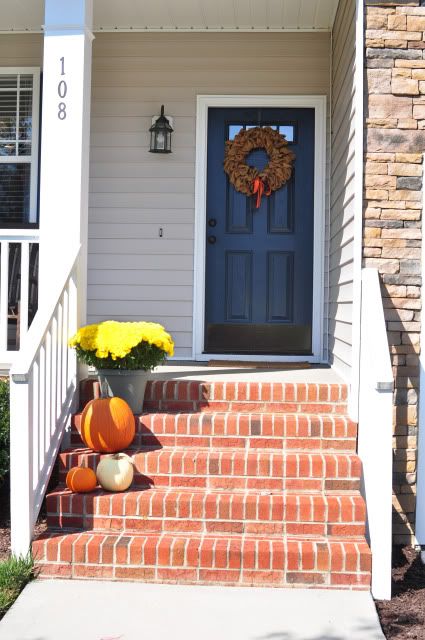
So here's what our front porch looks like these days:

Photobucket

Photobucket

Photobucket

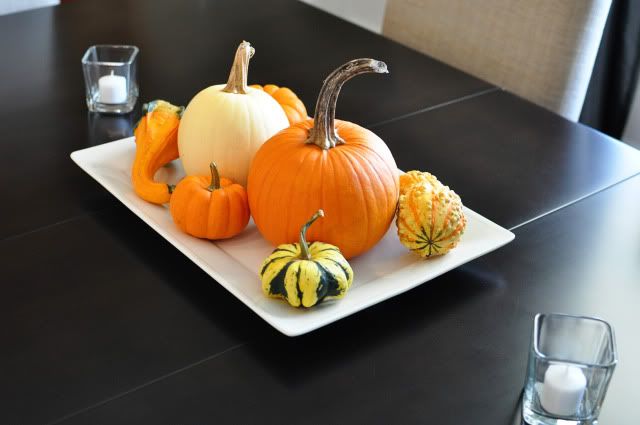
And our dining room centerpiece:

Photobucket

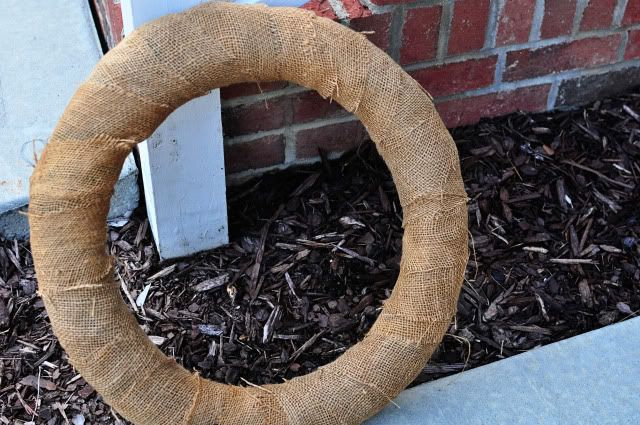
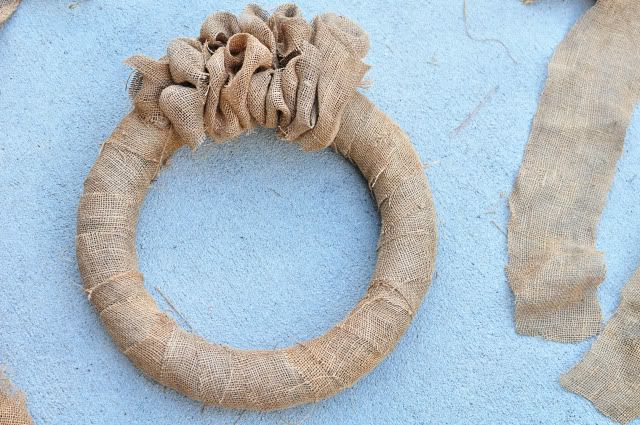
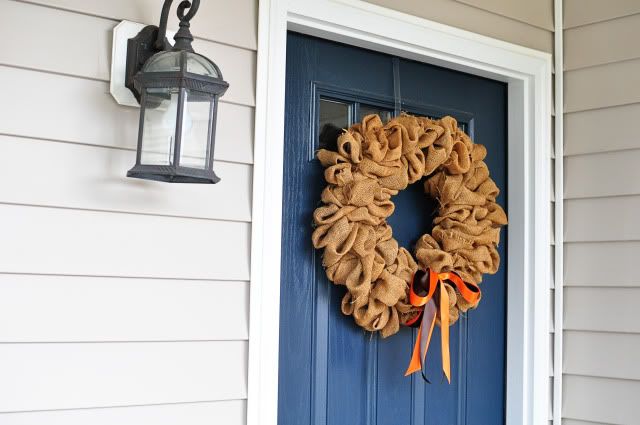
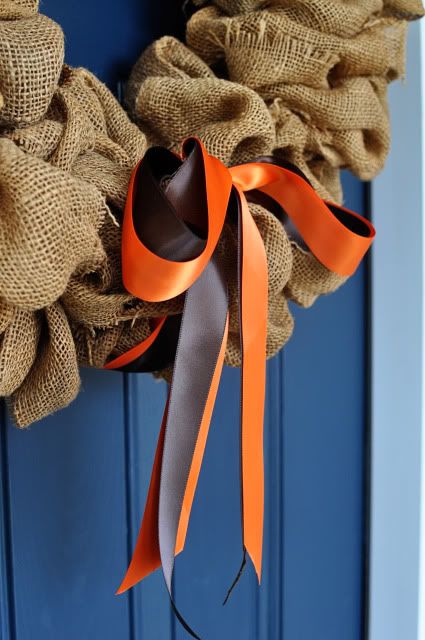
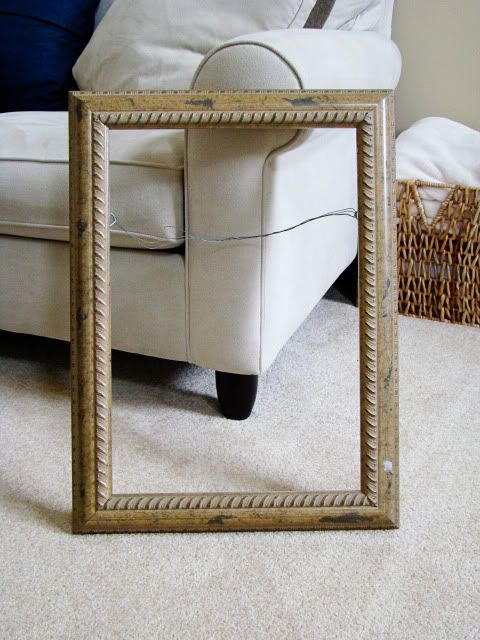
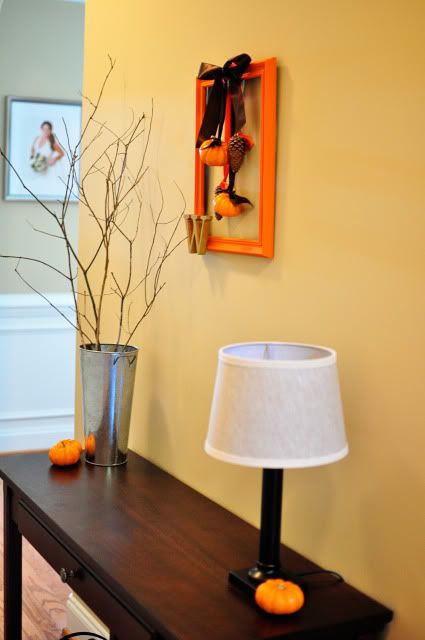
I also decided to get my craft on after some inspiration from Pinterest. I came up with this fall picture frame wreath (and bucket-o-twigs) for our hallway:

Photobucket

Photobucket

Photobucket

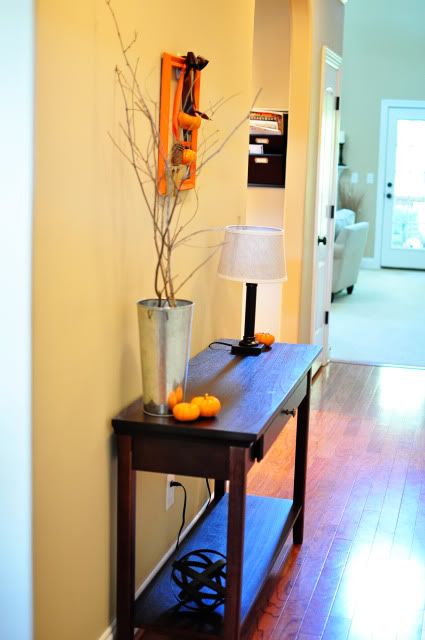
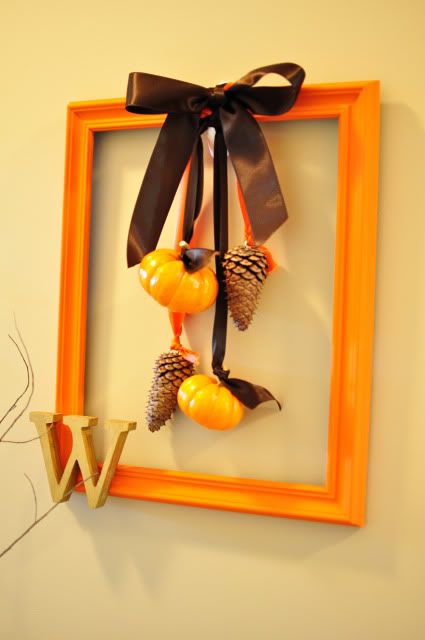
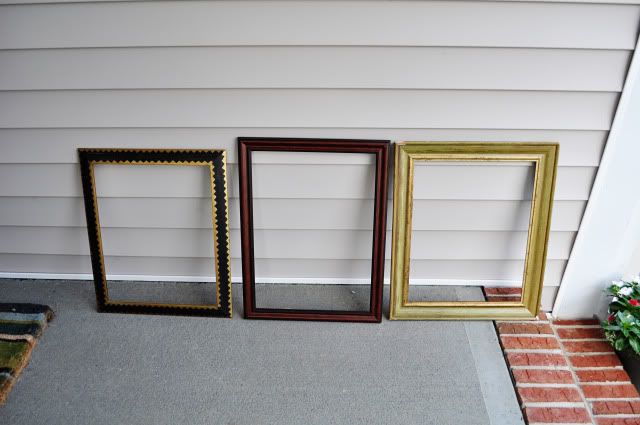
The frame is a cheap $5 WalMart frame (ideally I would have had one lying around to reuse, but I didn't). It was black, so I primed it with white spray paint primer before painting it orange (with cheap craft paint and a paintbrush).

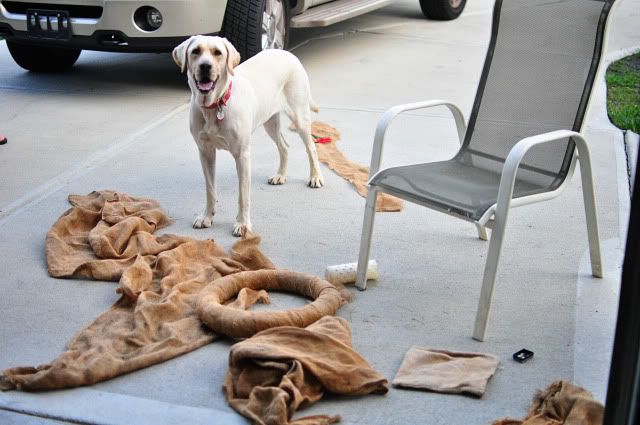
I scavenged pinecones from the backyard (Sugar chewed up the first round of pinecones I had found and carelessly laid on the patio table, so I was NOT a happy camper to have to go back into the woods again. Lee did find it amusing though that I was actually out-of-doors.) The pumpkins are real ones. And the W is a wooden letter from AC Moore painted with craft paint and hot-glued onto the frame.

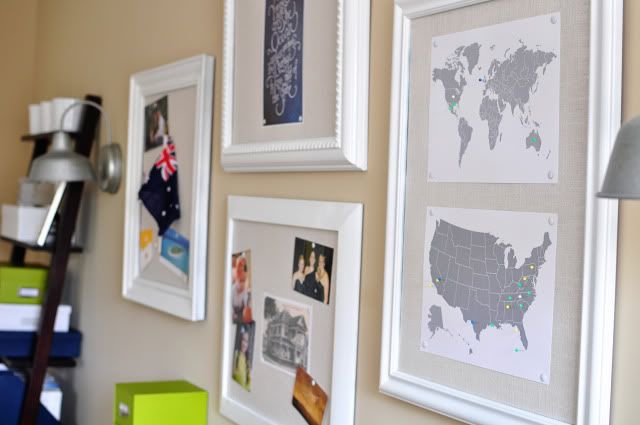
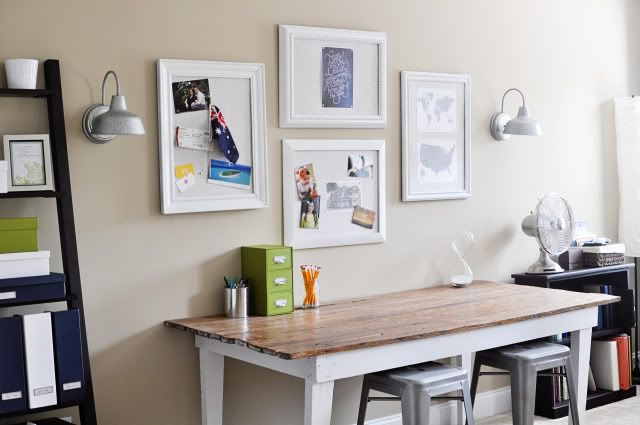
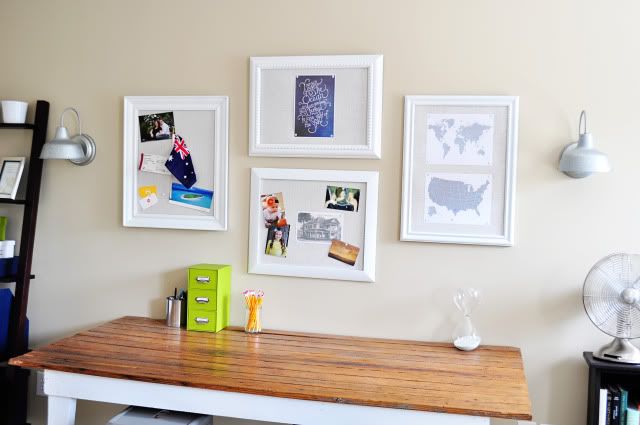
This was easy-peasy but I so enjoyed getting to flex my crafting muscle a little bit and finding a way to make it all come together nicely. And we never got around to hanging anything above this hallway table after we bought it so I like that that area has a little more going on now. Now I'll have to figure out something to put there for Christmas and then something permanent for the rest of the year.

So what do you think? And when IS the right time to decorate for fall? (I saw whenever you feel like it!)

Tuesday, September 27, 2011

His & Hers Weekend Projects

His project -- turning this:

Photobucket

Into this:

Photobucket

I can't give you step by step instructions, I just know this involved disassembling, sanding, spray painting, some cursing, clear coating, some more sanding, waxing, reassembling and lots of tuning.

Photobucket

Photobucket

Photobucket

His favorite part of the project? Going to the auto parts store to pick a paint color and finding the exact same "Toyota green" that his old (first) beloved truck used to be.

Photobucket

Photobucket

Photobucket

Her project -- a fall burlap wreath (inspired by Pinterest of course):

Photobucket

We had some old tobacco sacks laying around, so I was able to cut those up instead of buying burlap. They still smell a bit like cured tobacco, which I love (the smell of tobacco curing is nothing like the smell of cigarettes being smoked, which I hate).

I spread everything out on the driveway and worked right there, because I'm redneck like that. Of course, Sugar supervised.

Photobucket

First I wrapped a straw wreath form with the strips of burlap.

Photobucket

Then I made ruffles with the burlap strips, pinning as I went along.

Photobucket

Then I rotated the wreath around and tried to convince Lee that it looked good just like this and there was no need to keep ruffling all the way around.

He was not buying it. So I pressed on.

Orange and brown satin ribbon makes her complete.

Photobucket

Photobucket

Lee still thinks it needs something else. Maybe leaves or something. But what does he know?

We'll see if the mood strikes me to change it up or if I decide to just leave it be.

Another weekend project? Making some delicious homemade chicken noodle soup for my sick husband.

Photobucket

Can you see it steaming?

Photobucket

And in proof of the theory that 'no good deed goes unpunished' I got sick the very next day. Yuck.

It was still a good weekend though. How was yours?

Wednesday, July 13, 2011

Office Project Numero Quatro: Pinboard Frames

Read about my office here, and parts 1, 2 and 3 of the makeover here, here and here.

Next on my list for the office was something to go on the wall above my worktable. I knew I wanted some sort of pinboard solution so I could tack up mementos, pictures and inspirations like craft and decor ideas, paint chips, fabric swatches, etc. So I hopped on the picture-frame-turned-pinboard bandwagon.

I started by scouting the Raleigh flea market for large frames that I could spray paint. I think I probably paid around $20 for all four.

Photobucket

Photobucket
(Isn't the black and gold one nice?!)

After spray painting them white, I cut pieces of foam core to fit each frame and then covered the foam core with a thin layer of bulletin board material (using spray mount to adhere the bulletin board to the foam core).

Photobucket

I thought they looked pretty good at this point, but went one step further and covered the foam core/bulletin board with linen fabric (using good ol' hot glue).

Photobucket

Photobucket

And now for the finished product:

Photobucket

After playing around with the layout several times, I finally decided on two frames hung horizontally and two hung vertically.

And those light fixtures on either side? They're actually outdoor lights from Lowe's. (I can't find them on the site anymore but the stores may still have them.) I think they were around $20 each. And I L-O-V-E them.

Another secret? They're not hooked up to anything. They don't work. (Since they're meant to be outdoor lights they have to be hard-wired; they don't have a convenient little cord that you plug into an outlet). If I had begged hard enough I probably could have gotten Lee to work some magic and make it happen. But when we considered that we'd have to run wiring through the wall and cut out holes behind the lights and install another light switch (that probably wouldn't make any sense to future owners), I decided I was perfectly ok with them just being pretty and not functional.

Photobucket

I haven't done much yet in the way of pinning things up, but so far I've got some mementos from our Australia trip on the left, some random pics on the bottom, our "places we've traveled" maps on the right and a pretty quote from Pinterest on the top.

The maps are something I've been wanting to do for a while. I'm using yellow pins for places I've been, blue pins for places Lee has been, and green pins for places we've been together (get it? yellow and blue make green? awwww). Now we just need to get some more pins up there! Methinks the northwest is looking very neglected...

Photobucket

And now for some more pretty pictures.

Photobucket

Photobucket

Photobucket

Photobucket

Photobucket

Photobucket

Completing the worktable area are my two stools. I originally wanted the real-deal Tolix barstools, but at $200 a pop it was not happening. Overstock saved the day with this lookalike set of two for under $100. I actually bought the stools as soon as I finished the table, and they were part of the reason I fell in love with the industrial light fixtures and knew they'd be perfect.

So what do you think? I have a few last details I still want to finish up and then I'll give you a final wrap-up of the room.

Wednesday, June 29, 2011

Office Project Numero Tres: Curtains

Read about my office here, and parts 1 and 2 of the makeover here and here.

I always underestimate the impact curtains can have on a room. Then once I finally get them hung I think "why didn't I do this months ago?" The answer to this is probably that curtains aren't easy and they aren't cheap.

Except for my office curtains. Here is their story.

I knew I wanted the curtains in this room to be bright and fun with some sort of graphic pattern. The likes of Bed Bath & Beyond / Target / Pier 1 were just not cutting it in this department.

So I started researching fabric. But I knew I would need about 10 yards of fabric for four panels, and even with fabric that was $10-15 per yard (never mind the fancy designer fabrics I was drawn to), it was still more than I wanted to spend.

Enter my friend Ikea.

On one of my sacred trips there (the closest Ikea to us is over two hours away), I browsed the fabric section but wasn't able to find anything I liked. The bedding department though? Just the ticket. I found a twin duvet cover in a fabric that I liked (with a small circle pattern in the olive-y/lime green I was looking for).

Photobucket

The length of the duvet was exactly the length I needed, and I figured out that I could cut the width of the duvet in half to create two panels, so I'd only need one duvet for each window. The best part? The $9.99 price tag. So for under 20 bucks, I was on my way to four glorious curtain panels.

Except I got them home and they sat in a closet for four months. And THEN I was on my way.

I sliced each duvet in two and used no-sew iron-on hemming tape to make a nice seam on the one side of each panel that had been cut.

Some inexpensive brushed nickel curtain rods and ring clips from Target later, I was in business.

Photobucket

Photobucket

Photobucket

Photobucket

Photobucket

And as a bonus? Each twin duvet cover also came with a pillowcase, so I DIY'ed a custom mousepad to match the curtains (and I still have another pillowcase left over).

Photobucket

I just bought a cheap mousepad from Walmart and used spray adhesive and hot glue to cover it with the fabric.

So there's my cheap and easy curtain story. Tune in next week for some wall art action!


Wednesday, March 31, 2010

Office Project Numero Uno: Worktable

After realizing that I didn’t want to spend more than about $30 on a worktable for my office, and realizing that $30 will barely by you one leg of a table, I found this beauty in the Dairy Barn on our family farm and decided to make her mine:

Photobucket

Once we got her home we realized she was in pretty rough condition. Lee got to work sanding the table down and cut off a few inches of each leg because they were dry-rotted a bit at the bottom. One whole leg had to be replaced completely, but Lee made one to match almost perfectly.

Even with sanding though, the top of the table still had a layer of grime on it. You see, the Dairy Barn was not used for the purpose you would think – milking cows – at least not since I’ve been alive. It was used for cooking greasy delicious meals of greasy BBQ, fried fish, BBQ chicken, fish stew and greasy hushpuppies. And the table still held a bit of that deliciousness from every one of those meals:

Photobucket

(The left side is the original table top, the right side is sanded with still a bit of grime hanging around.)

I didn’t necessarily want a film of grease on my worktable, so what do to? Enter: the pressure washer.

These days, Lee’s answer for everything is the pressure washer, and I have to say it worked miracles. Ten minutes later, grime was gone and it was time to move on to painting and sealing.

The bottom legs got a fresh white coat of paint and the top was left as natural wood with about 20 coats of Deft sealant.

So here she is now:

Photobucket

Photobucket

Not bad for the cost of a can of Deft, huh? (We already had the white paint lying around.)

Although most of our furniture is more contemporary, I’m finding myself drawn more and more to the vintage / farmhouse / cottage look. I was a bit worried about mixing the two styles but I think everything is going to come together nicely. Fingers crossed.

Wednesday, January 13, 2010

Piddling and Tinkering

Lee came out of the woods behind our house one day with this:


"I found this in the woods. I'm going to make a grill out of it."

"That's stupid. You already have a $600 grill sitting on the patio."

"Well it's going to be a smoker, not a regular grill."

I rolled my eyes and said "Whatever lady." This is what Lee says to me when I'm trying to tell him something -- it means 'stop telling me what to do. I'm going to end up going along with what you said but first I want to be difficult about it.' So I've started using it back on him. It means 'that's a stupid idea but whatever.'

So he piddled and tinkered in the garage for two weeks and it was great because he was out of my hair and I could watch Ellen in peace without him griping.

Of course there were parts that had to be bought but they were pretty minor -- hinges, handles, grill grates. He bought a Dremel to do some of the cutting and had burnt the motor up within 10 minutes. Lowe's kindly replaced it though.

In the end, he came out with this:


I was pretty impressed, but would never admit it. All he got from me was a Whatever Lady.

Tune in tomorrow to hear about how the first meal on the smoker turned out.
Related Posts Plugin for WordPress, Blogger...